

Does the time it takes for Windows 11 to open seem endless? Don't worry: there are several ways to speed up the operating system's loading time, including one that requires no hardware changes and is all done in software. Here's how to do it.
While some PCs are capable of running Windows 11 in about ten seconds (from turning on the PC to the desktop appearing and all programs loading into memory), most do so in around twenty or thirty seconds. And sometimes, it's even longer. It's enough to make you tear your hair out when you're in a hurry to access the web, open a document, access your photos, etc.
Certainly, the processor's power, the amount of RAM, and the speed of the SSD on which the system is installed all have something to do with it. But these aren't the only factors that come into play. The good news is that there is a good way to boost Windows 11's loading time. It's free, there's nothing to download, and it doesn't require any hardware modifications to your computer. We'll explain everything.
How to Boost Windows 11's Loading Time
Do you want to improve Windows 11's loading speed, especially the time it takes for the operating system to become truly usable? We often forget this, but along with Windows 11, many programs also launch automatically in the background. These can be drivers (essential for the proper functioning of the PC, it is better not to touch them), libraries used by the system and its applications, but also various and varied programs that have little use.
We sometimes find small programs that systematically check if a software update is available (Java, the Adobe suite, a browser, etc.), an instant messaging service (Skype, Teams, Signal, WhatsApp, etc.), a “hub” that launches other programs, an audio or video streaming service (Spotify, Plex, etc.), a spell checker, etc.
Also read – Windows 10 and 11: how to clean the system and the hard drive, without additional software
In short, many of them want to run as soon as the system opens and remain in the background. Of course, since they load automatically in memory, they also allow instant access to software. This is particularly the case with a browser like Microsoft Edge, which offers extremely reduced access time since it is already loaded into memory the moment you launch it. But some software is clearly dispensable and this is where you should be able to save on loading time and available memory.
To access the list of programs that load as soon as Windows 11 starts, simply launch the Task Manager. You have two options:
- Press the keys [Control] + [Alt] + [Delete] simultaneously. A list of options appears in full screen, including the Task Manager.
- You can also access the famous Manager by clicking with the right mouse button on the Taskbar.
- Once the Task Manager is open, in the left part of the window that has just opened, go to Startup Applications.
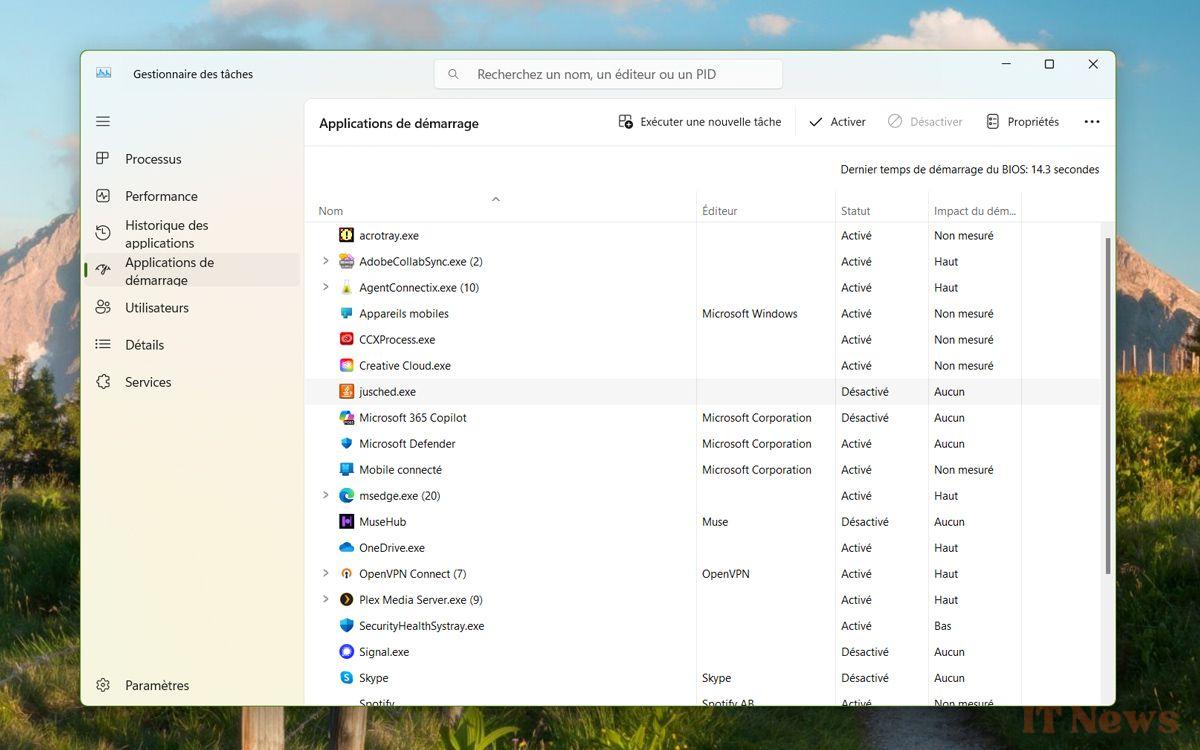
- This is where all the programs that run automatically when Windows 11 starts are displayed. As you can see, the impact on the startup time of each application is evaluated and can be viewed in the column right.
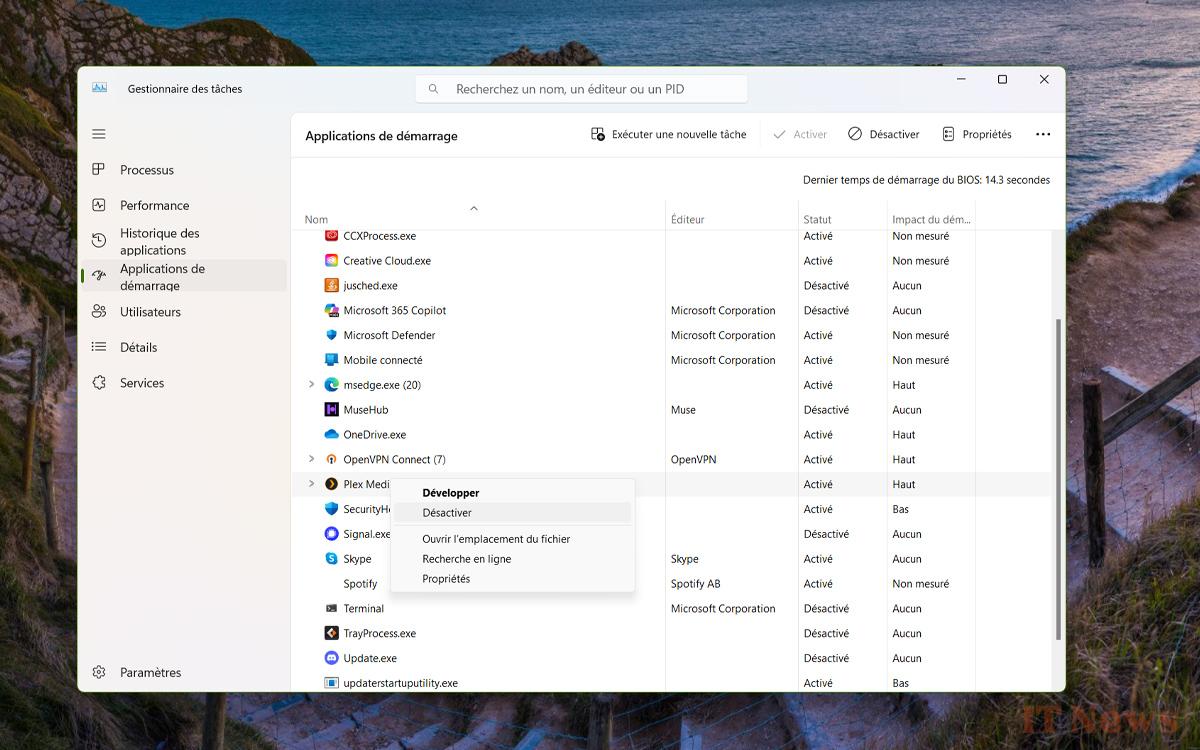
- Still from the Task Manager, it is possible to prevent an application from launching at the same time as Windows 11. To do this, simply right-click on one of them and choose the Disable function.
- The names of applications are sometimes obscure, such as CCXProcess.exe, TrayProcess.exe, or worse: Update.exe. Microsoft has done things well, since if you have any doubts, you can also open the folder in which the application is located or even search online, in order to have more details.
- So, which applications can be disabled without fear? In our case, and as shown in the screenshot above, we disabled a whole series of programs. For example, there is software that checks if the Java virtual machine is updated (we check it manually from time to time, as updates are infrequent), an application launcher-downloader (MuseHub), Skype messaging, etc.
- Finally, rest assured: disabling is not permanent and if you notice the slightest problem, simply reopen the Task Manager and reactivate the program you previously dealt with.
Finally, note that this tip also works on Windows 10.


0 Comments