
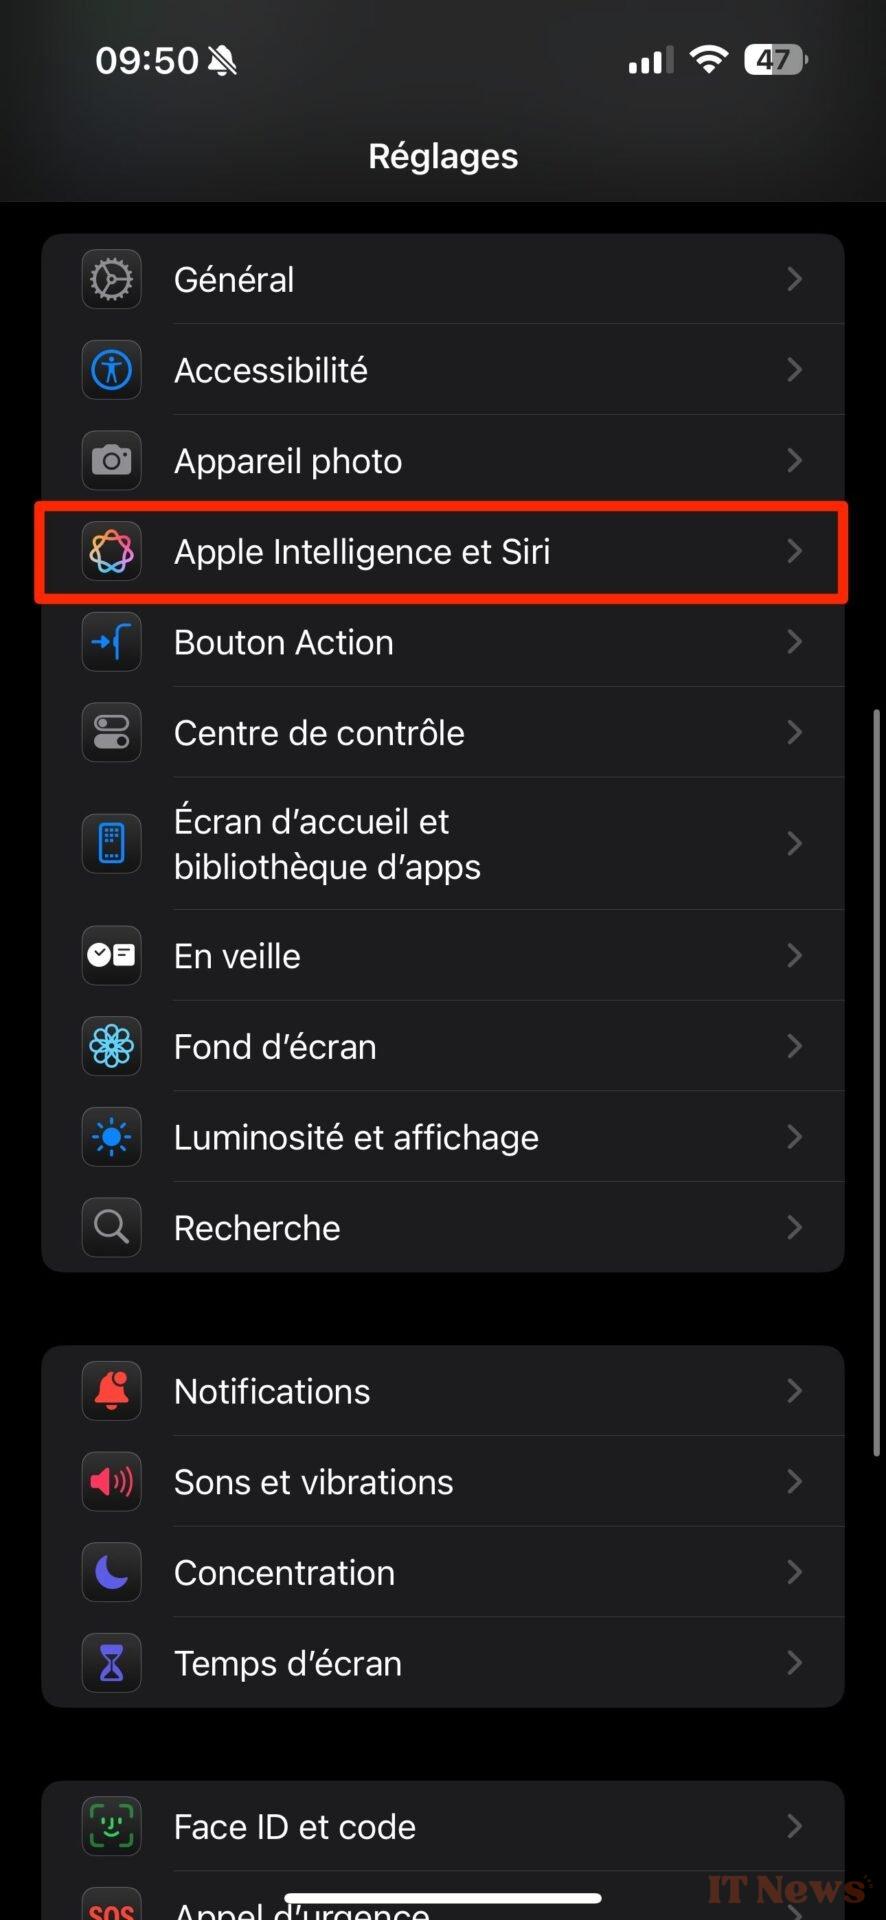
iOS 18.4 is coming soon, and with it, the many features of Apple Intelligence. However, not all iPhone owners will be eligible for it. While Apple Intelligence works on all Macs equipped with an Apple Silicon chip, its availability is much more limited on iPhones.
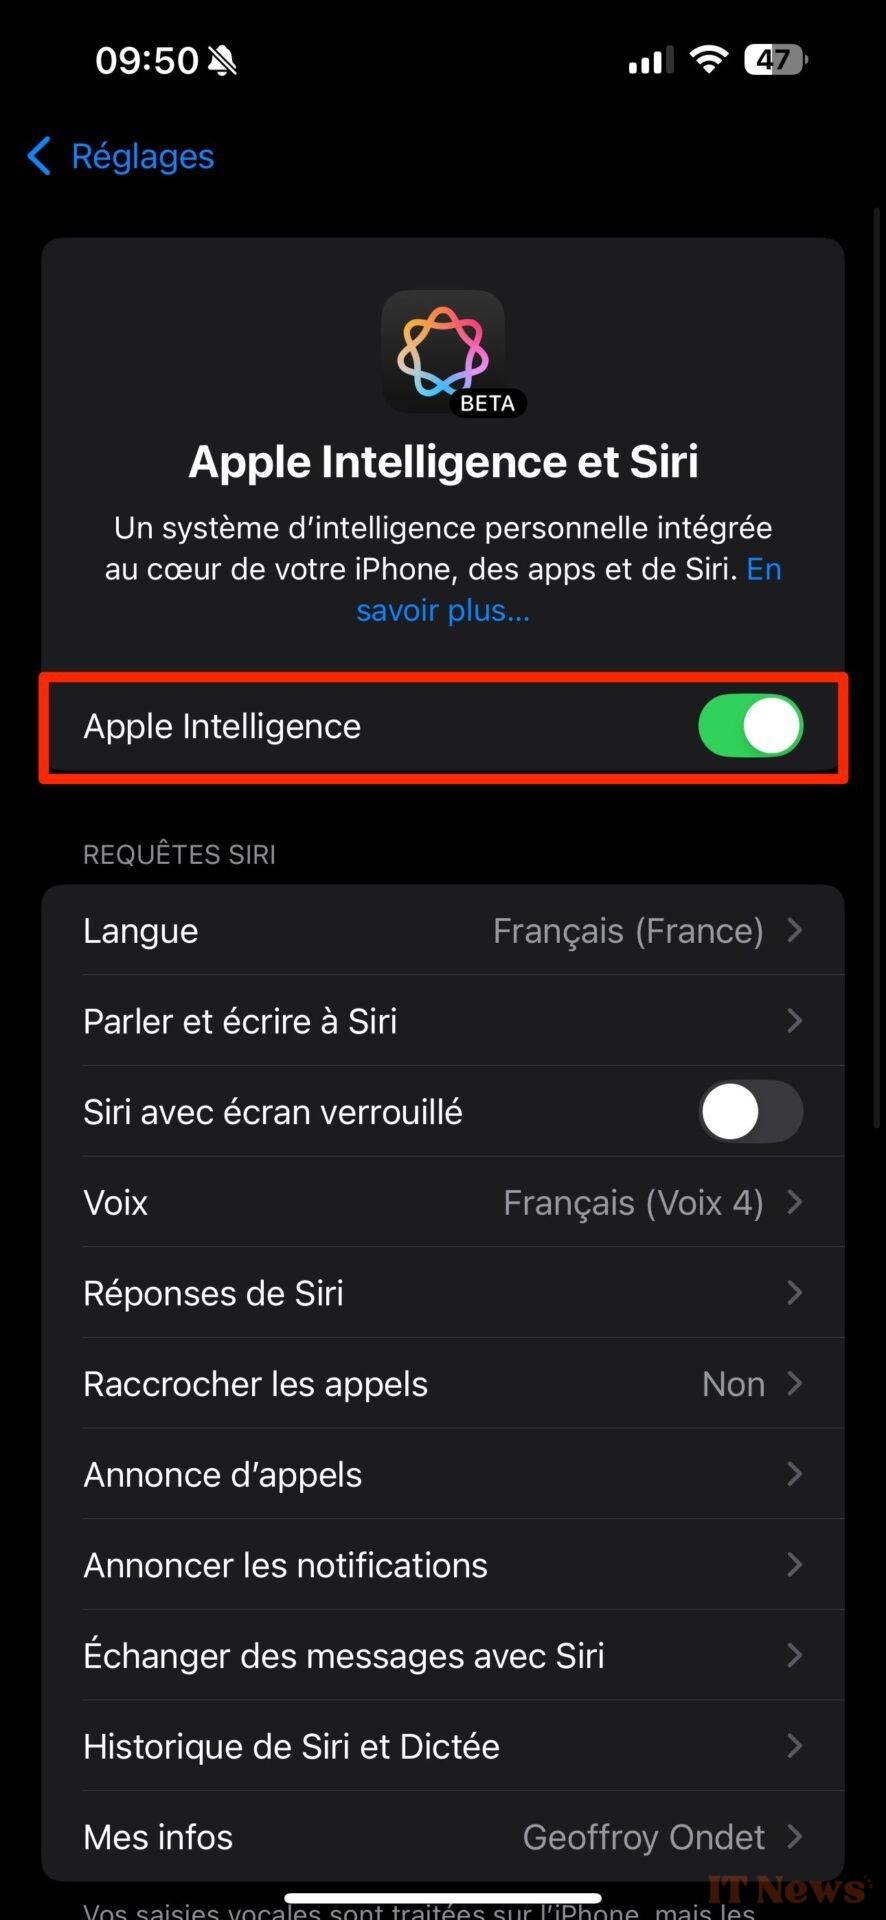
Apple is reserving its AI for the iPhone 15 Pro and iPhone 15 Pro Max, as well as its entire iPhone 16 range. Furthermore, before you can experience the joys of Cupertino's AI, you'll probably have to wait a little while. Because although enabled by default with the upgrade to iOS 18.4, Apple Intelligence requires the download of a certain number of files to work. You can easily check this by going to the iOS Settings, then accessing the Apple Intelligence menu and Siri, where a message will appear stating that "Downloading the resources required by Apple Intelligence is in progress." You will therefore need to ensure that your device is connected to a Wi-Fi network and plugged into its charger.
Once this formality is completed, Apple Intelligence will be officially available and usable in French on your device. You will then be able to enjoy the joys of Image Playground, priority notifications, and Genmoji. You will also, and above all, be able to benefit from Apple Intelligence's Writing Tools, undoubtedly one of the most interesting features of Apple's AI. Here's how and where to use it, and above all, how to master it.
1. Access Writing Tools
The good news is that Apple Intelligence Writing Tools can be accessed almost anywhere where writing is possible, not just from Apple apps.
"Almost everywhere" because, for some reason, writing tools remain inaccessible in some apps where writing is possible. This is particularly the case with WhatsApp. Furthermore, activating the writing tools is not always very intuitive.
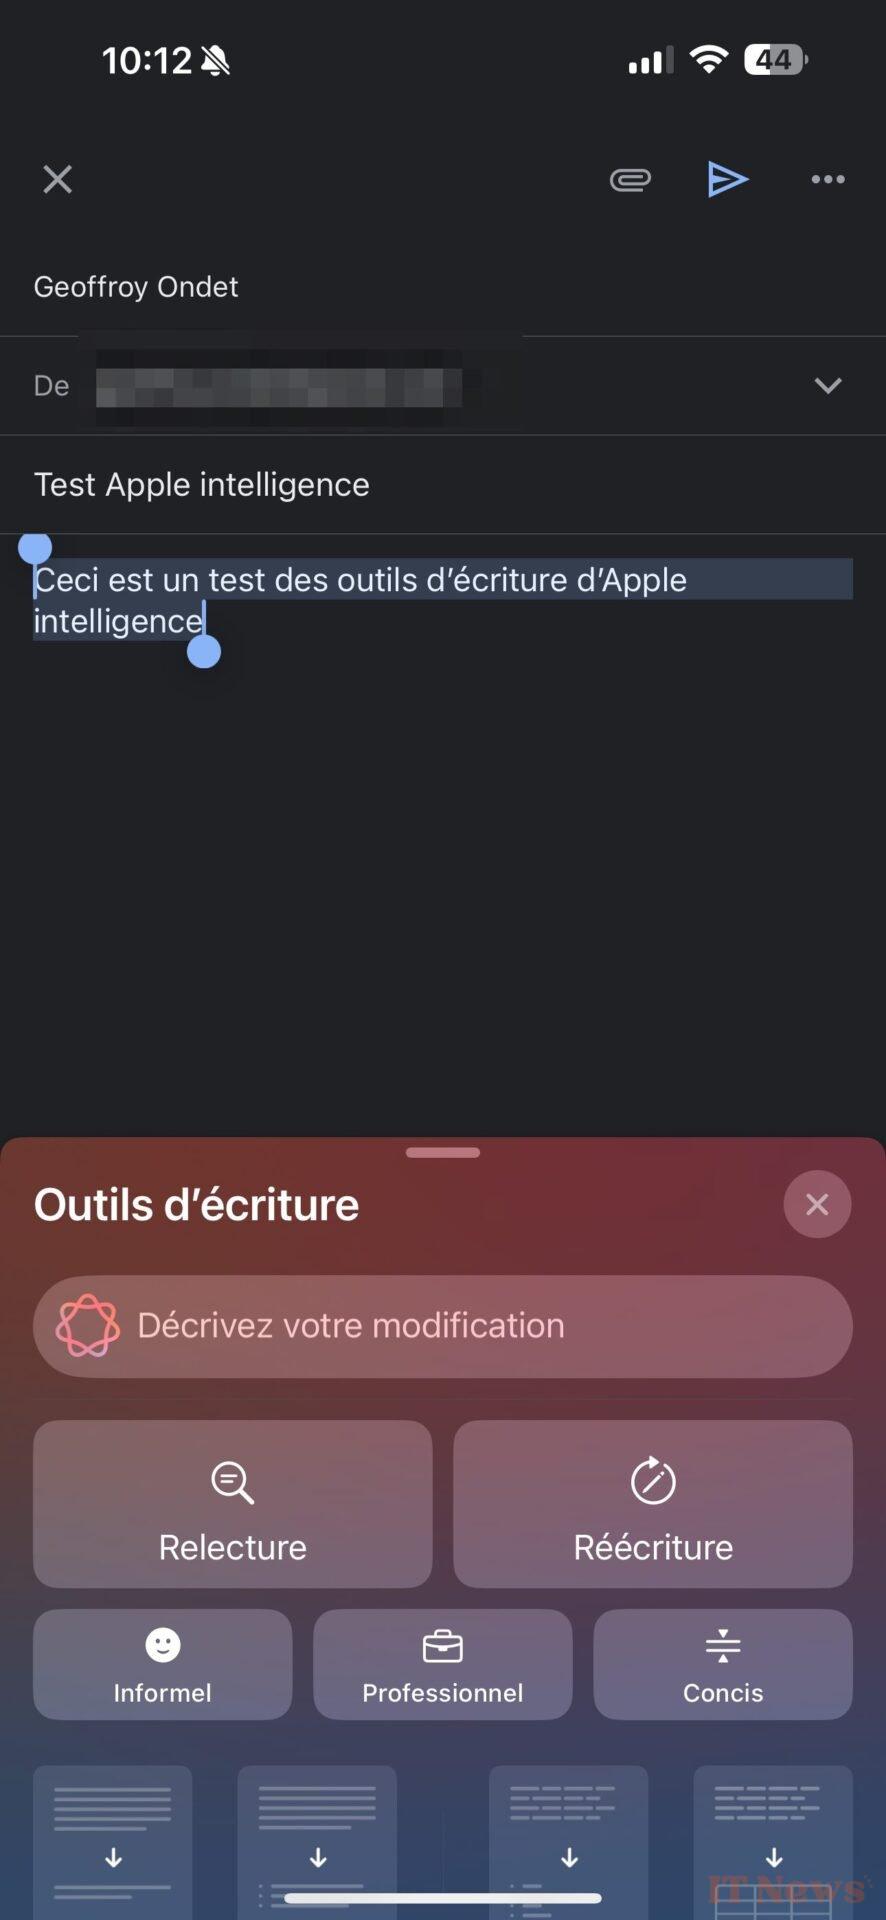
In Mail, for example, you can access the Writing Tools by pressing the arrow displayed on the right above the keyboard, in the automatic suggestions row, where an Apple Intelligence icon has been grafted.
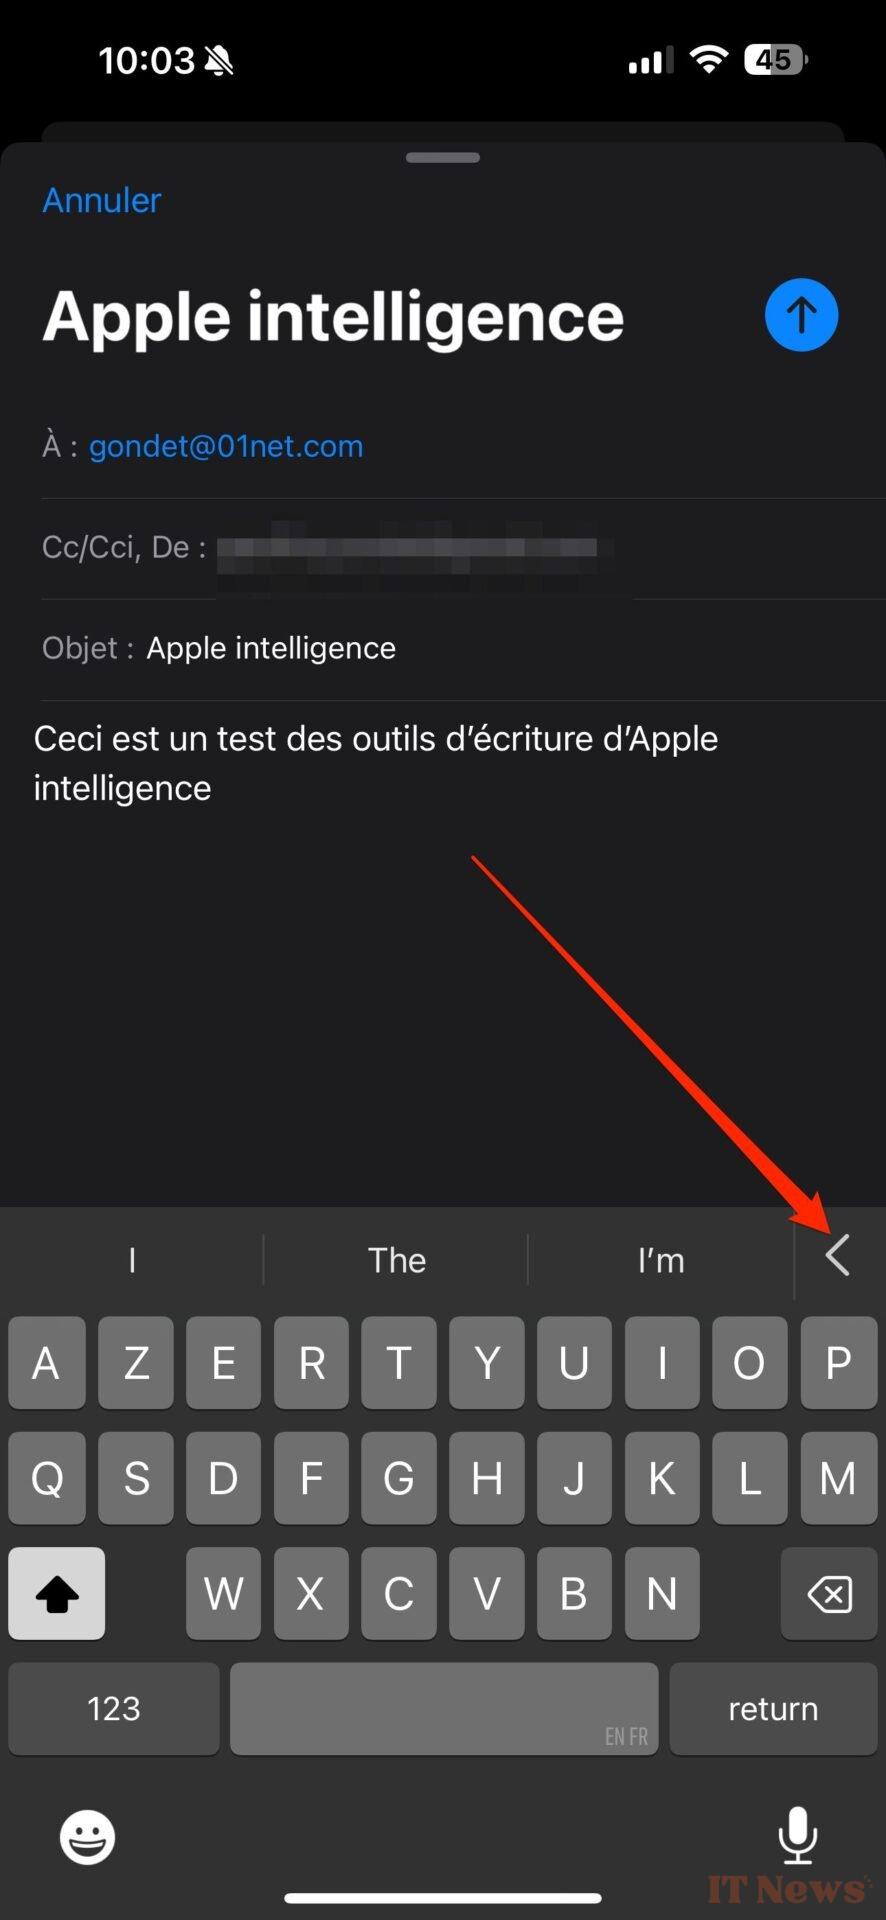


In other applications, Apple and non-Apple (Messages, Gmail, Telegram, Word, etc.) you must select the text to be modified to see the Writing Tools appear in the options bubble or in the keyboard suggestion bar.


2. Edit your text
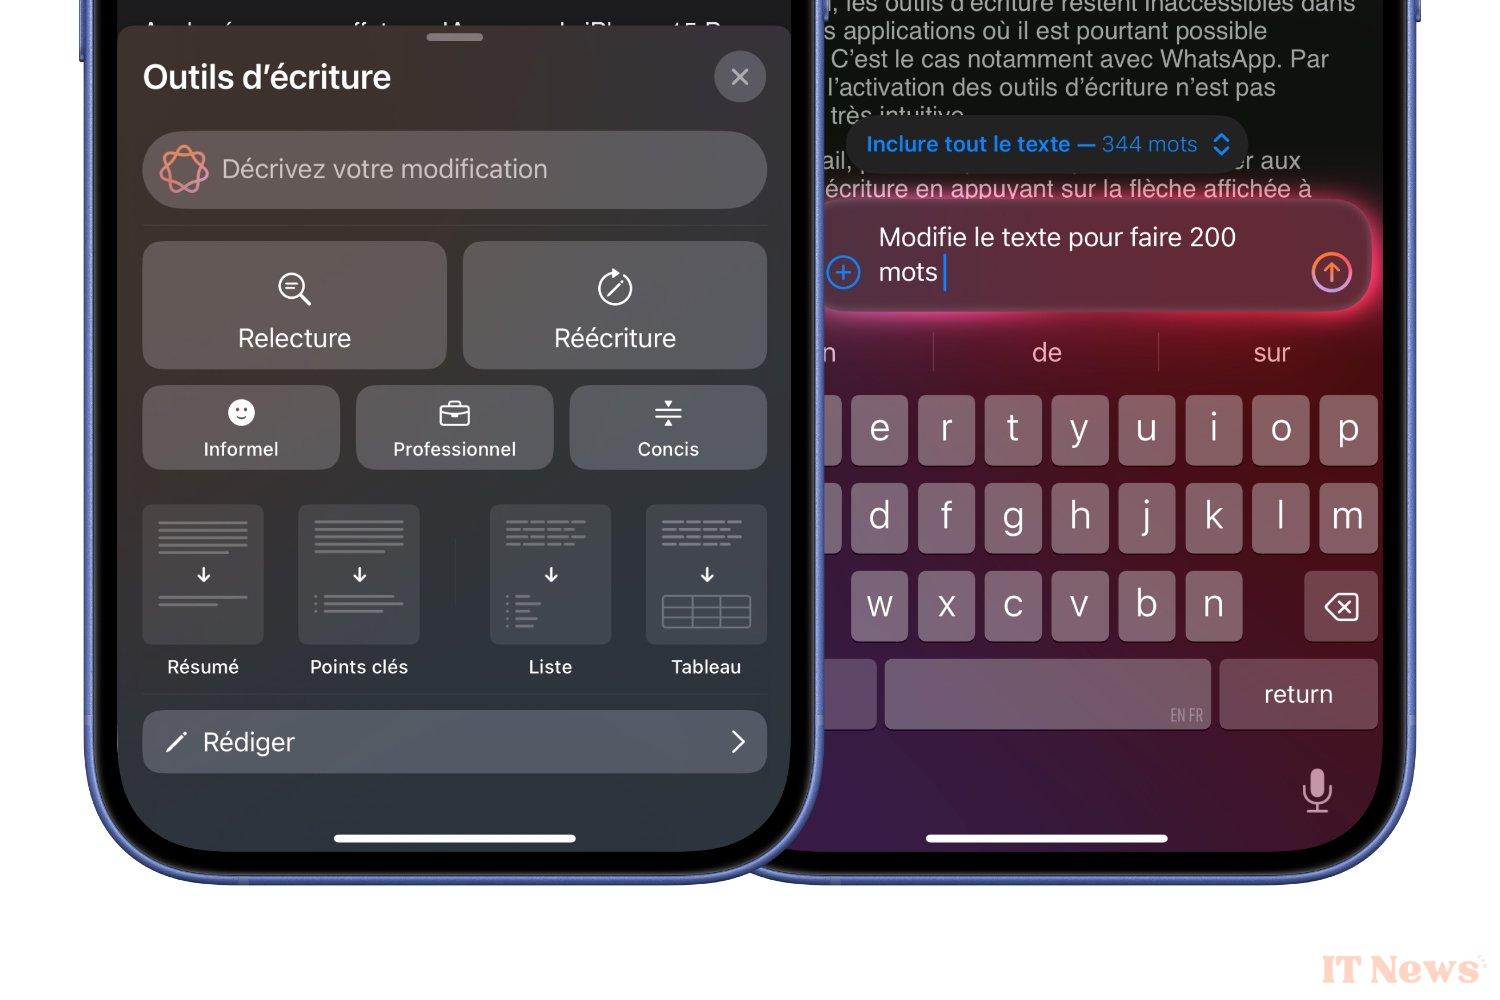
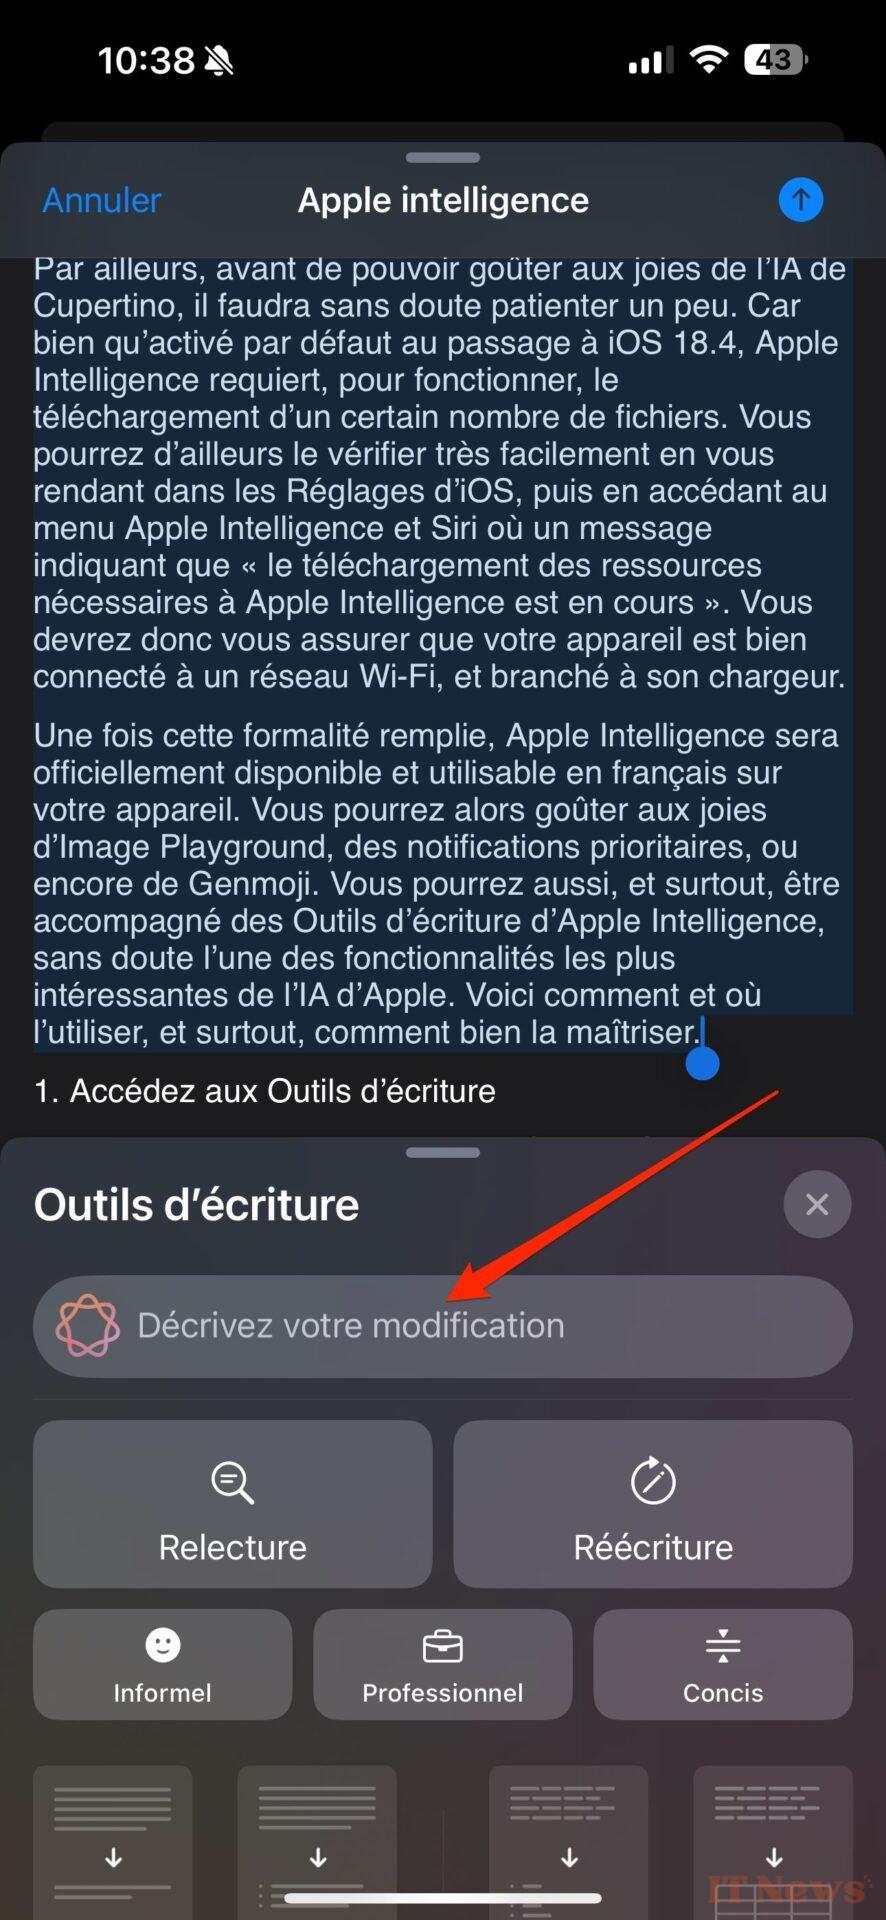
The first option offered in Apple Intelligence Writing Tools is to edit the text. To do this, simply describe to the AI, in the field provided, how you want to modify it. For example, you can ask them to summarize the content, limit its length, etc.


Once your request has been executed by AI, you can directly view the modified content on the screen, and choose whether or not to display the Original via the dedicated button. You can Restore the original text if the modifications do not suit you, in order to change your modification prompt, or validate the changes by pressing Finish.
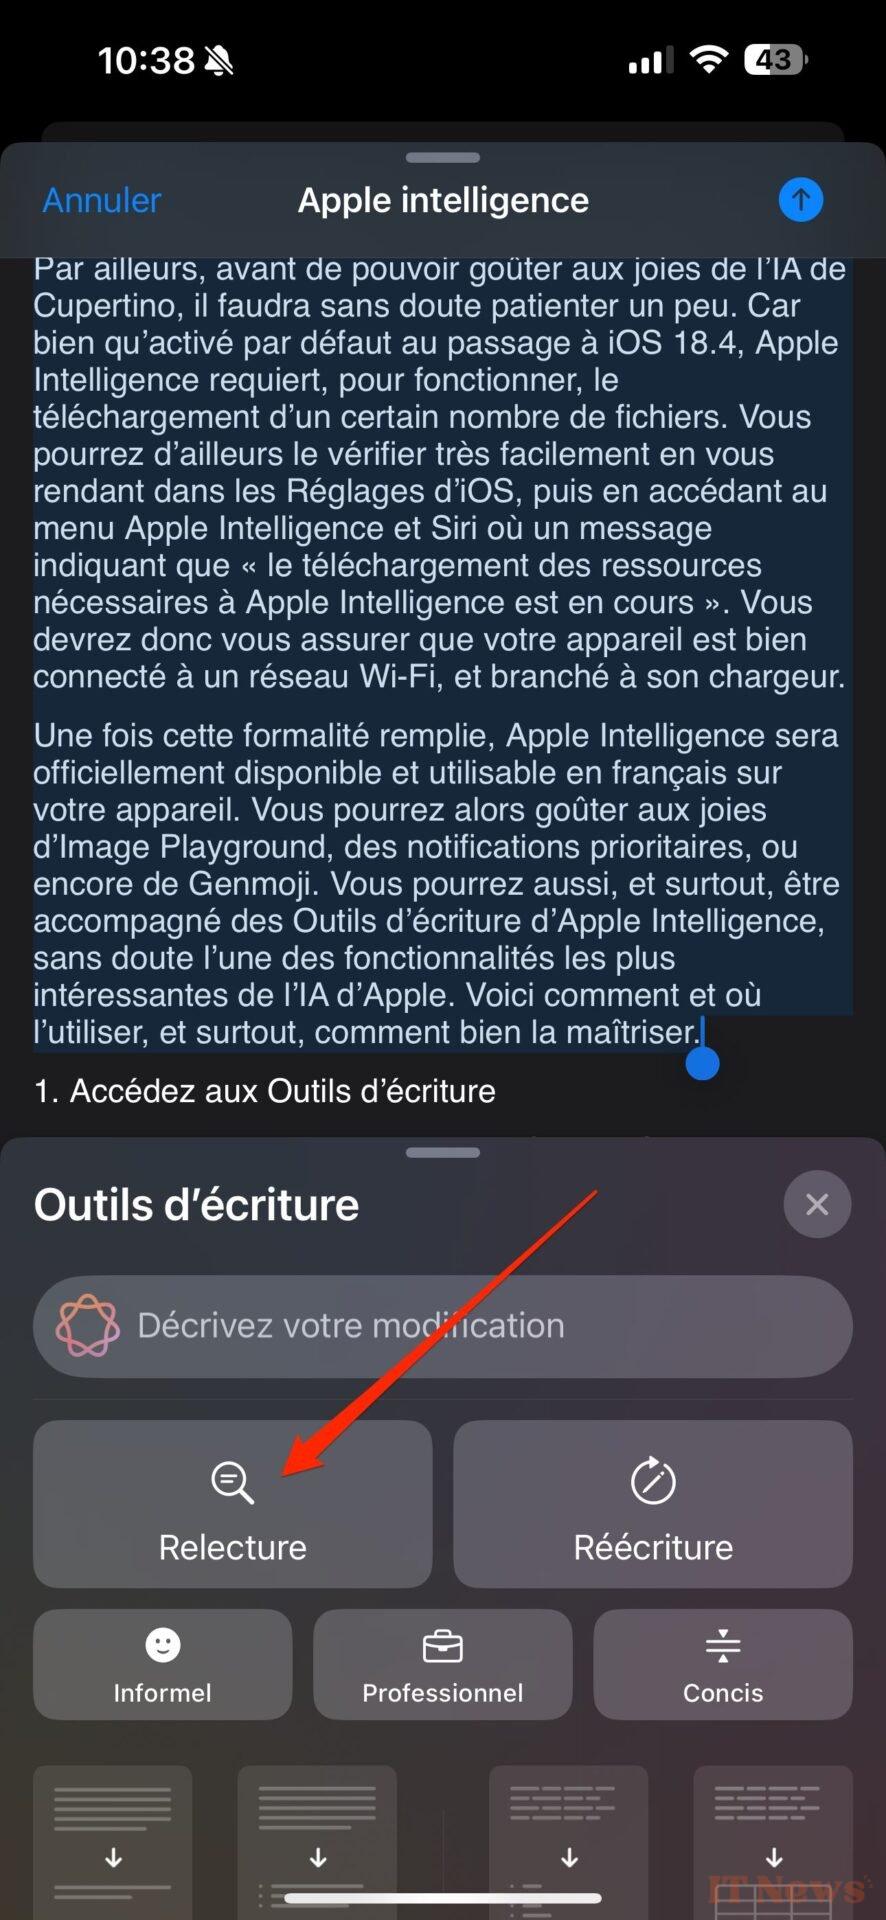
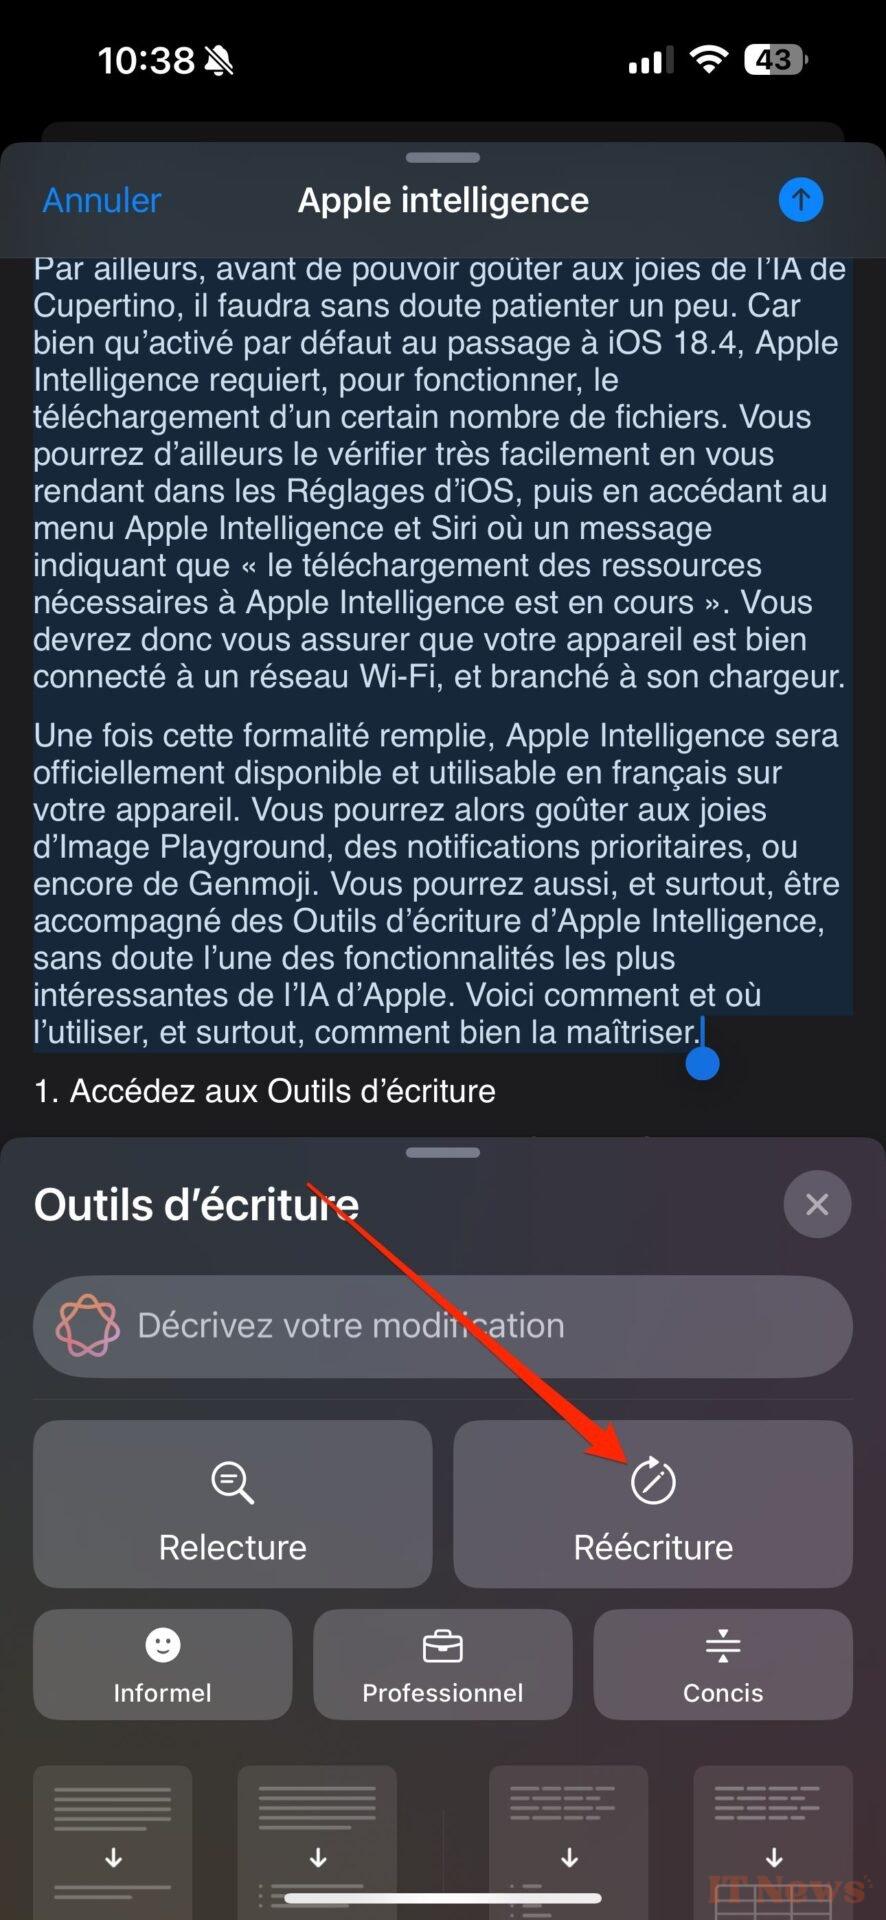
3. Start a proofreading or a rewrite
Apple Intelligence's writing tools also directly offer a Proofreading or a Rewriting of your content. As before, proofreading directly modifies the elements detected as requiring modification by the AI. You can view the before/after by pressing the Original button to display the modifications, highlighted by an underline. You can review each of them by pressing the two arrows (up/down), displayed at the bottom right of the screen. For each corrected element, Apple Intelligence displays the grammar rule used and, if necessary, suggests choosing to Use the original, rather than the correction applied by the AI.


The Rewrite option, on the other hand, allows you to launch a rewrite of your content on the fly, without you having to specify any specific instructions. Here again, the Original button will allow you to display the before/after, and if the prose generated by Apple Intelligence does not suit you, you will have plenty of time to relaunch the Text Rewrite via the appropriate button. If multiple rewrites have been applied, two left and right arrows will allow you to scroll through each of the rewrites created.


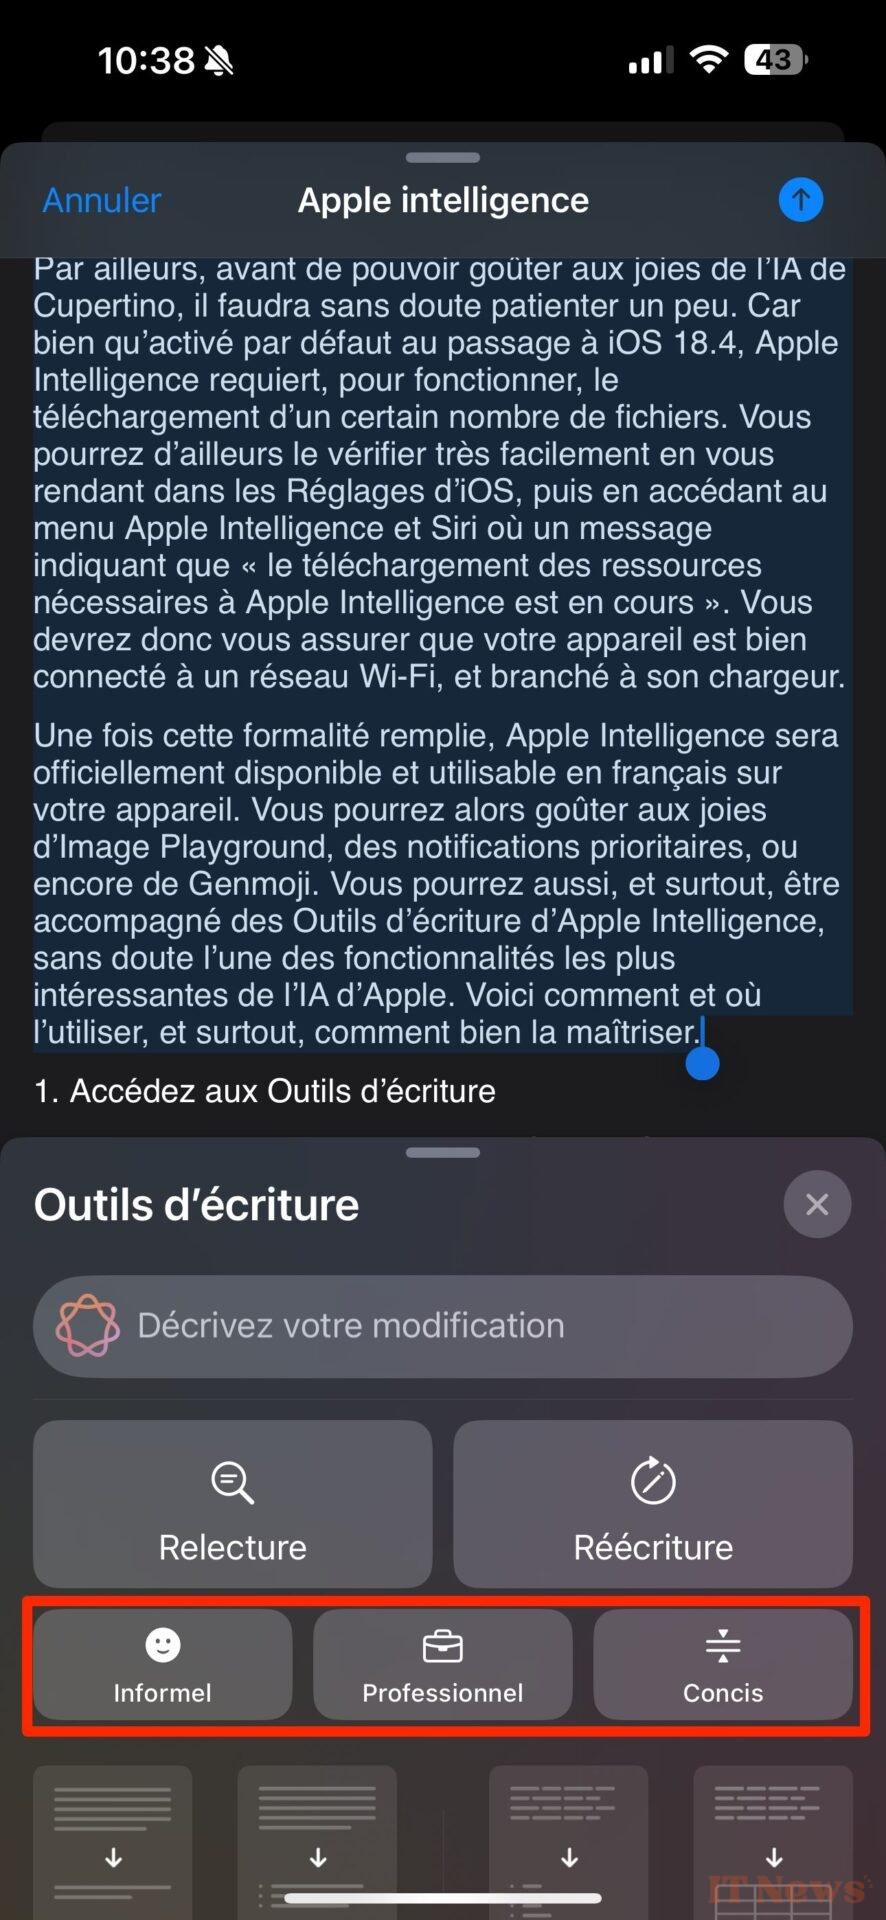
4. Change the tone of your text
While you can rewrite your text with specific instructions from the prompt input field, you can also ask Apple Intelligence to change the tone. This way, you can transform your text to be Informal, Professional, or Concise. Here again, for each of these predefined styles, you can restart the mill if the first proposal generated does not suit you.


5. Analyze text and quickly obtain data
Apple Intelligence Writing Tools also offer several predefined actions depending on what you want to extract from a text. You can generate a Summary, obtain the Key Points, create a List, or even Create a table with data taken from the document. A function that can be extremely useful for consulting the key points of a very long text.


6. Have your text (re)written by ChatGPT
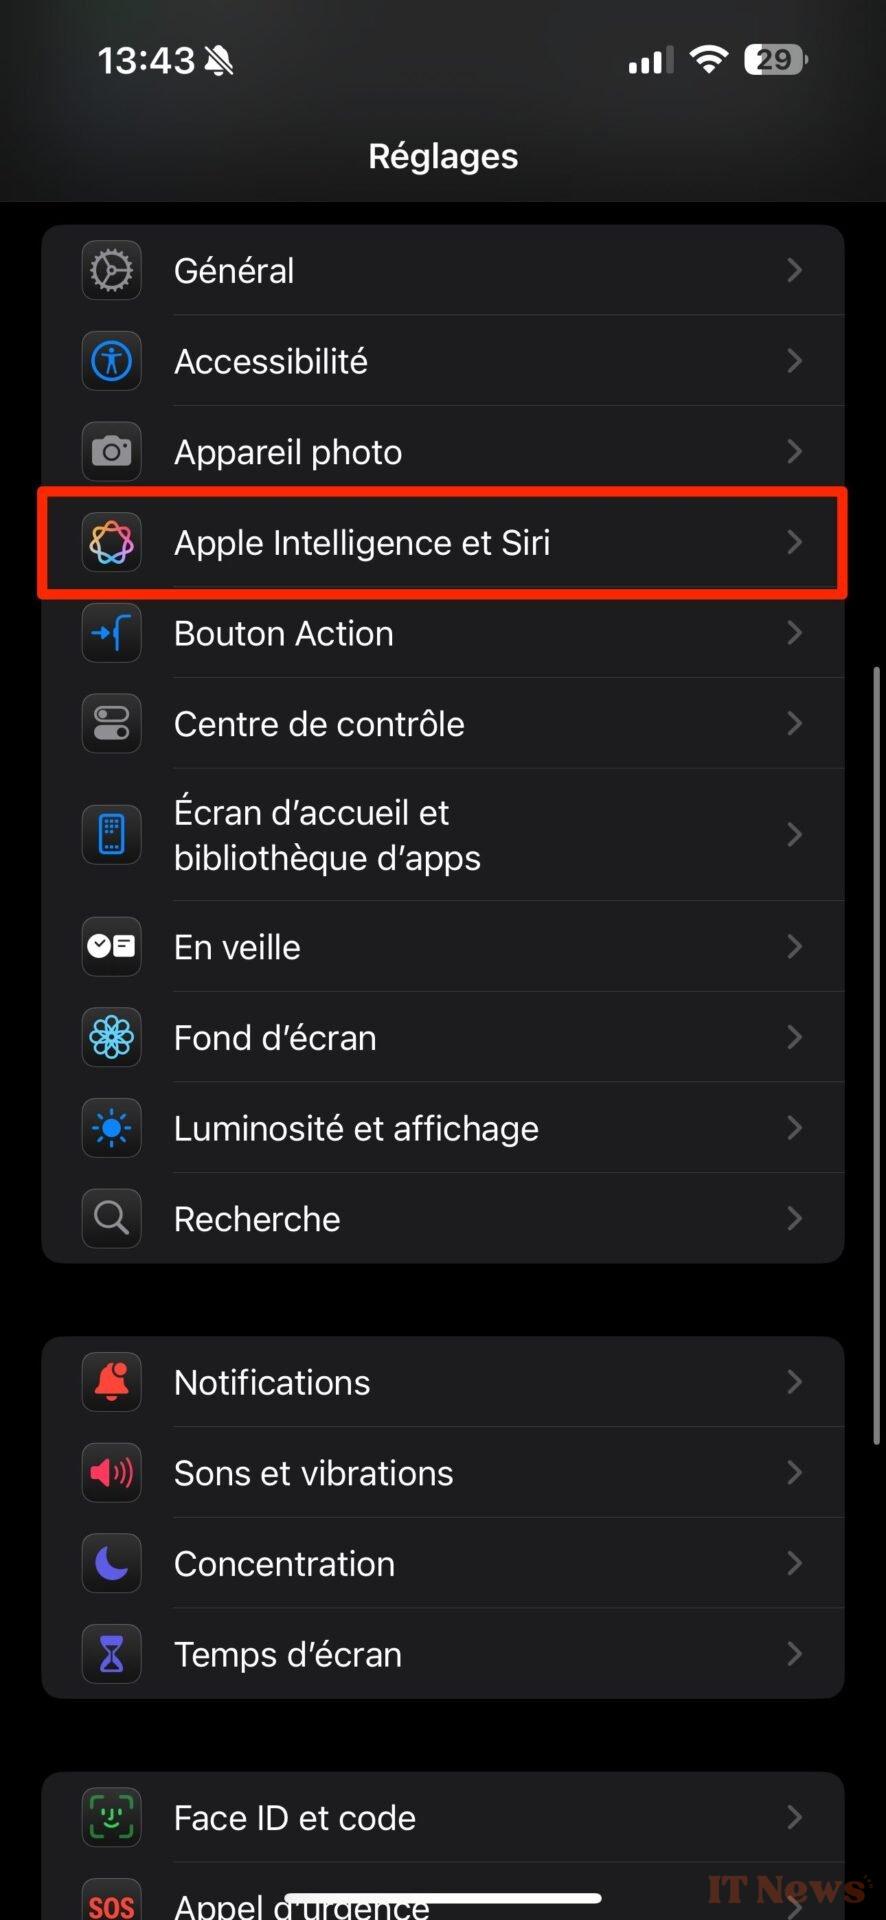
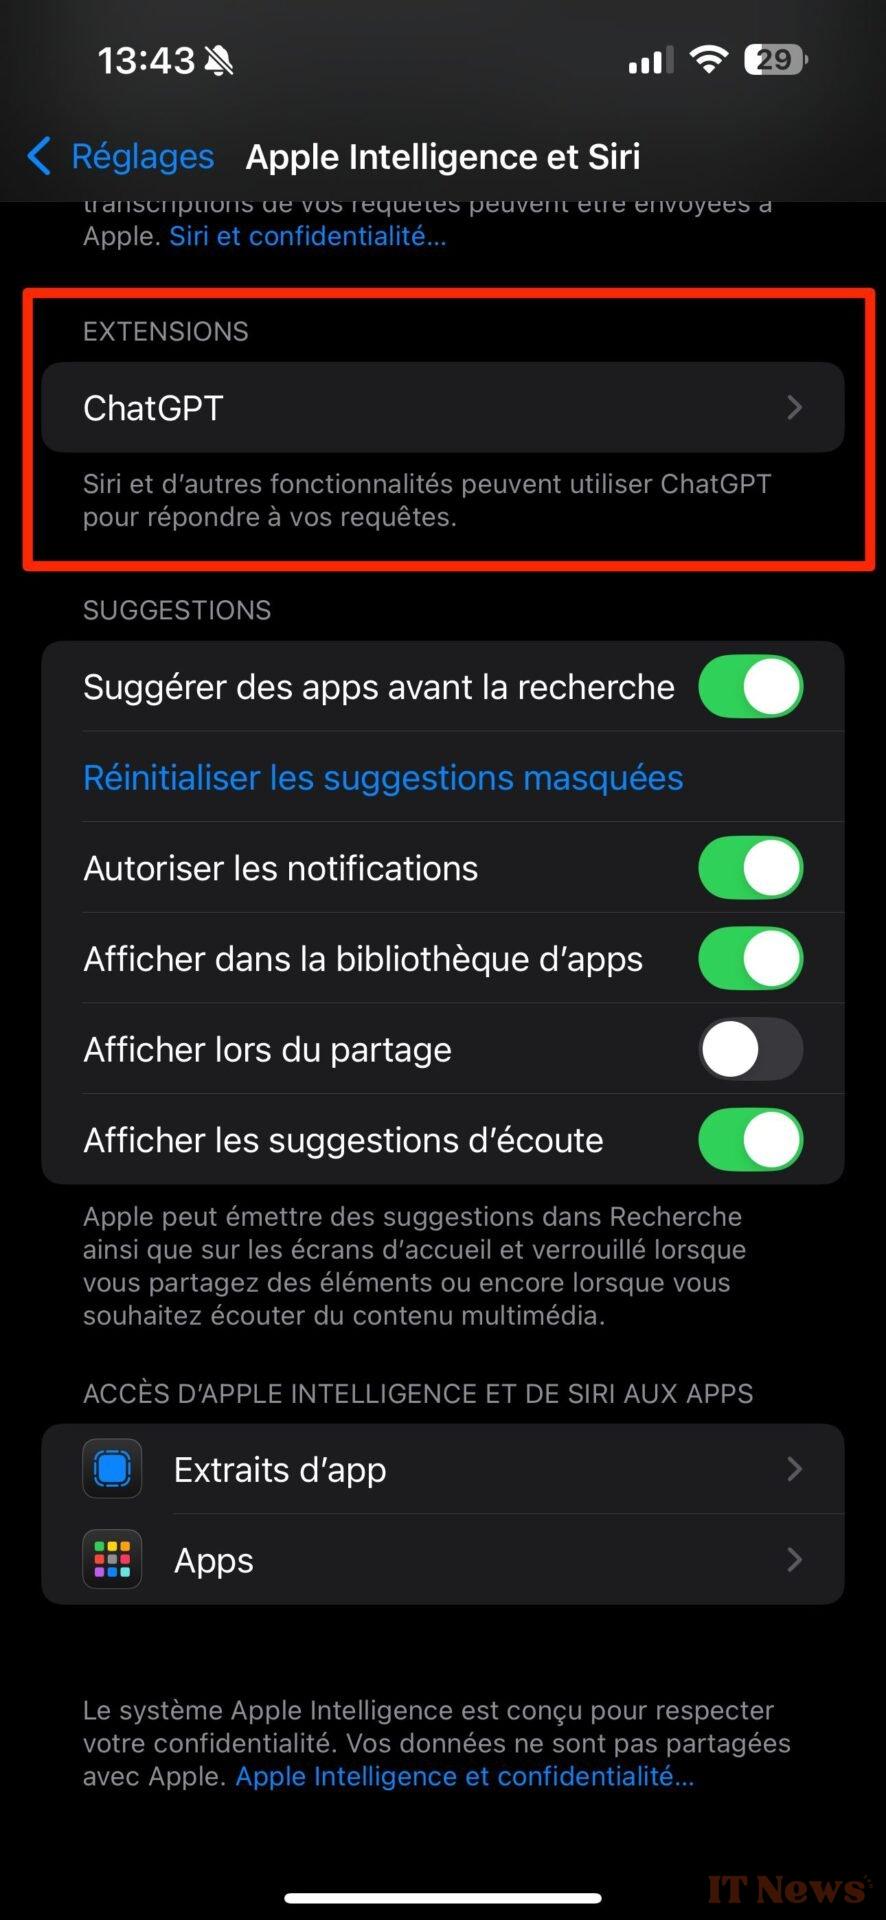
Apple Intelligence doesn't just offer its own AI tools. In fact, Apple has also planned to integrate ChatGPT into its suite of AI tools. To activate it, go to the Settings of iOS, then in the Apple Intelligence and Siri menu, under the Extensions heading, select ChatGPT. You can then activate the OpenAI chatbot and even connect your ChatGPT account to keep a history of your requests.

To ask ChatGPT To edit your texts directly, go to the menu dedicated to Apple Writing Tools. At the bottom of the menu, by selecting Write, you can enter your prompt to let ChatGPT take care of the modifications. Please note, however, that the generated text will be in addition to the original text, so don't forget to delete it if the version generated by ChatGPT suits you.


Please note, by Furthermore, enabling ChatGPT is essential if you want to ask Apple Intelligence to write a text from scratch from a simple prompt.


0 Comments